The Photoshop Pen Tool is a standard tool which is also a path creator. It enables us to create detailed and accurate selections and outlines of any pictures you like.
The pen tool is used to accurately select your subject's outline. It is also better than the pencil tool or the brush tool. An anchor point is what holds the curvature path. You can also move the anchor point to the path as you like.
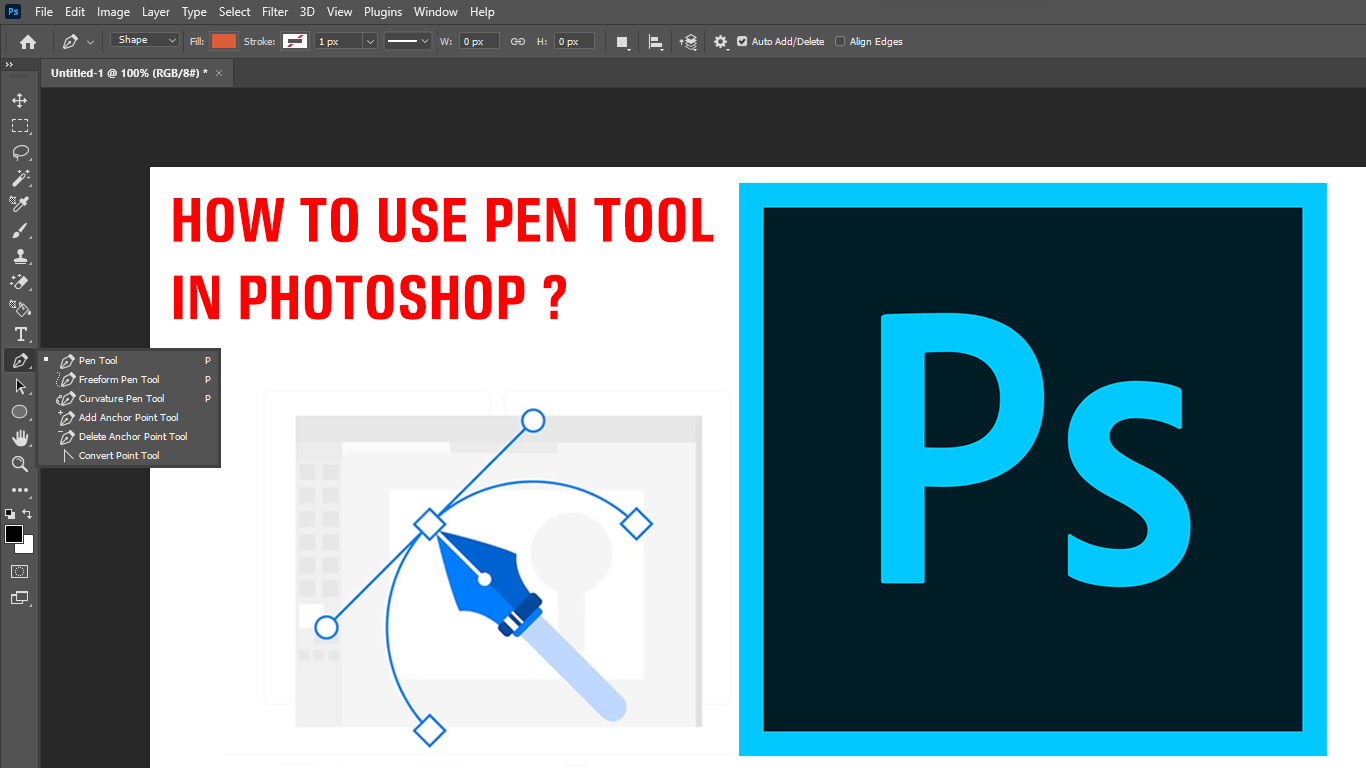
The keyboard shortcut for the pen tool is the letter P. According to the version of software you use, there are six tools available. They are the pen tool, freeform pen tool, add anchor point tool, curvature pen tool, convert point tool, and delete anchor point tool.
How to Use Photoshop Pen Tool?
Follow the below steps to use the pen tool in Photoshop.
Step 1: Open a document in Photoshop.
Step 2: Use a sample picture in Photoshop.
Step 3: Go to Menu > Windows > Path to create a selection.
Step 4: Click the pen tool in the tools bar, or just click the letter 'p' on your keyboard. By simply tapping at specific intervals, you can create the points. Keep tapping from the start and joining to the endpoint in order to make a solution. Utilize the undo option for any instant errors you make.
Step 5: Using the curvature pen tool, you can drag every line to make a perfect selection. You can zoom in (use the shortcut Ctrl and +) for a better view. This curvature pen tool will add more anchor points on the path.
Step 6: You can make use of the add anchor point tool to add more anchor points.
Note: If you feel the path is unclear after many anchor points, use the delete anchor point tool to remove some of them. You can click on those unwanted anchor points and continue with the curvature pen tool.
Step 7: After creating the desired shape with the pen tool, click right on the shape and select Create Vector Mask to show that selection alone.